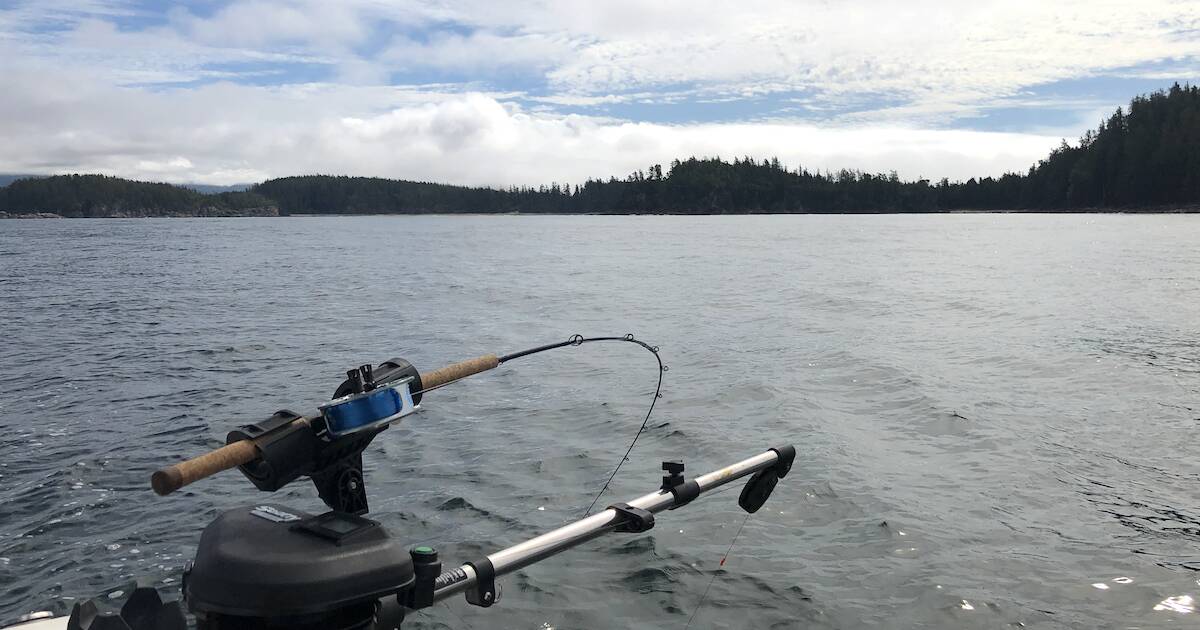
Nothing can prematurely end a salmon trip faster than a downrigger going down. Or not going down. Or worst of all, staying down and refusing to come up. I know several fishermen that pack a spare downrigger on long trips to remote locations, and that’s standard operating procedure for most charter fishermen. But most downrigger problems are relatively simple, and often repairs can be made on the boat or dockside.
Fishing with Downriggers
In this article we will cover basic downrigger maintenance and repairs. We will only be covering Scotty downriggers, because that’s what most anglers on Vancouver Island use. I have used other brands such as Cannon and Penn, and they worked well. But the Scotty warranty and access to parts make them the standard downrigger on the coast. Also, they are a local company based in Sydney, BC. And while they provide great warranty service (lifetime warranty to the first owner if they register the serial number with Scotty), doing the basic repairs yourself can keep you on the water longer.
Cable Problems
The first thing to examine is the downrigger cable. If you find serious rust or any kinks, then cut off as much cable as necessary. While this may seem wasteful, if you don’t do this, I guarantee that the cable will snap at the most inopportune time, and you will lose an expensive cannonball. Steel cable only lasts a few years under most conditions. It is always wise to have an extra spool of downrigger cable stored in a dry place. I do not recommend splicing old steel wire to new or swapping it end for end. Once it is compromised, toss it.
If your cable is synthetic braid, then you can expect a much longer life if nothing has abraded it. I still cut off the last 20′ or so, every so often, to get to clean braid. Also, because of its thinner diameter, I always spool on 450′ of 200-lb test braid so that I have lots of extra when I have to cut some.
Premium Braided Downrigger Line 200 lb Test
Respooling a downrigger is easy. Once de-spooled, lift the lid (be mindful, as the emergency crank handle may fall overboard) and simply tie the cable/braid to the small double pin holes on the upper spool plate (Figure 1). It can be hard to see, but you should have had to remove the old cable from the pinholes. Now simply crank it on under significant tension, as you would when bringing up a cannonball. Make sure it is going in a clockwise direction.
Fig 1 Upper Spool Plate
Watch that the fairlead (Figure 2) on the boom is centered and the cable is not piling up on one side. If it is piling to one side, adjust the position of the fairlead accordingly.
Now crimp or tie on your terminal gear, and you are done respooling.
Fig 2 Fairlead Centered on the Boom
Brake Problems
Brake problems are another common issue I often see when fishermen bring me a malfunctioning downrigger. Often the brake pads have glazed up, and the downrigger is slipping and not stopping quickly, or not stopping at all. (If yours did not stop at all, then see the above paragraph on respooling.) Or, if the downrigger is refusing to go down, the brake may be too tight. In both cases you must adjust the brake.
Fixing the brake pads is easy, but it will entail disassembling the downrigger and doing a brake adjustment afterward.
As always with disassembly, find a clean, bright work surface to lay out the parts (Figure 3). While this can be done on the water while the downrigger is in its mount, I would avoid that if possible— or be prepared to swim for the various pieces that fall overboard.
Fig 3 Downrigger Brake Parts
Remove the lid to access the internals. Remove the emergency crank handle (Figure 4) and the jam nut on the central post that the handle attaches to. (Pro tip: This nut must be aligned in a specific direction as it is not symmetrical. When you are reassembling, if the handle will not mate with the nut, keep spinning the nut until you find the sweet spot.)
Fig 4 Downrigger Emergency Crank Handle
The next step is to remove the next nylock nut (Figure 5) and washer. This is your brake adjustment nut and is critical for brake adjustments.
Fig 5 Downrigger Brake Adjustment Nut
Now you can remove the toothed gear and main spool. Under the spool is a square metal brake plate. Under this plate is the brake handle and the three stone brake pads. These brake pads get too smooth with use, so to repair them, simply rough them up with some sandpaper. Or you can just flip them over if you are in a hurry (Pro tip: This trick only works once.)
Now, carefully replace all the parts up to the nylock nut. At this point, you must do a brake adjustment. Attach a fishing scale to the terminal end of the downrigger cable and start to pull (Figure 6). With the brake on, the downrigger should begin feeding out line at around 40 lbs of pressure on the scale. Now adjust the nylock nut up or down accordingly until you are close to 40 lbs. This is important, as if it is too loose the downrigger will free spool. If it is too tight, it will not feed out line when snagged. I am sure that overly tight brakes cost my father and his fishing partner two downriggers that were pulled over the side when snagged in a heavy swell off Bamfield.
Fig 6 Adjust to 40 lbs of Pressure With Brake On Using a Scale
Once the brake is set, simply put back on the final nut and emergency handle. The emergency handle also retains the cover on standard non-HP electric downriggers, so do not skip this step, even if you do not plan on using the emergency handle.
Electrical Problems
Electrical issues generally round out the list of basic downrigger issues. The majority of these are related to corrosion. If your downrigger mysteriously stops working check all electrical connections and the electrical plug and socket. If you see any corrosion on the plug or battery terminals, sand it off. If that fails to help, check the inline 30-amp fuse you that should have placed between your plug and the battery. If you did not put in your own fuse and your wiring is good, then the problem may be inside the downrigger’s electronics. While this is by far the least-common problem I see with downriggers brought to the shop for repair, it is still a possibility. The internal circuit breaker or relay switch may have gone bad. These are generally covered under the warranty and are not easy to find for sale. Some tackle stores carry them, and I recommend grabbing a spare if you get the opportunity. This sort of repair is not very challenging, but it is beyond the scope of this article. Similarly, replacing the brake handle spring is quite doable, but finding parts can be a challenge.
I carry many other spare parts, such as drive belts and depth counters. These parts are simple enough to swap out if one is malfunctioning. If you need further help, a quick call to Scotty normally results in plenty of advice and possibly parts being sent to your location. (This is at Scotty’s discretion, and I do not work for Scotty.) But being able to do basic repairs yourself can speed up the process, especially this season, when you may need to adapt and overcome problems on your own.
3 Comments
Leave A Comment
Visit the Store
$34.99
$34.99
Featured Catch
Joel Unickow halibut (Photo: Rob Frawley Lucky Strike Sportfishing Tofino)


Terrific article. Thank you. As someone new to fishing with downriggers, seeing their guts and reading about their repair is helpful if mine ever malfunction.
Another great article by Steve Vavrik from the Harbour Chandler.
Have you ever had to replace the lid latch for the 1116 Scotty downrigger. I broke the latch, on one side, and need to install the new one, but it is a mystery to me how to get it to go on the base.