

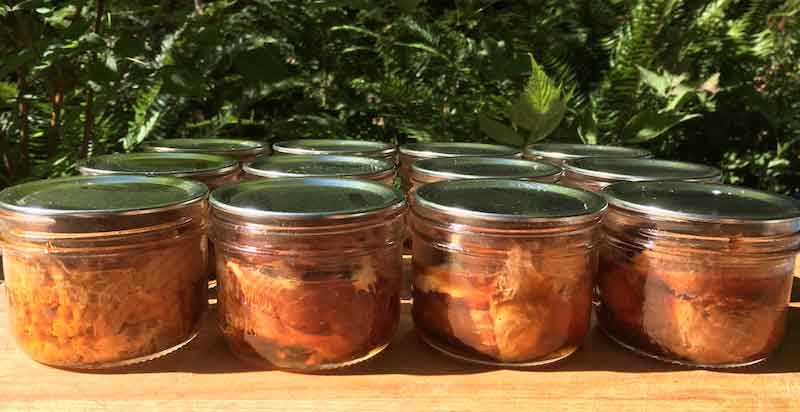
Mastering canning salmon at home is one of the most rewarding ways to preserve your West Coast catch, turning fresh fillets into shelf-stable delicacies that last for years.
I have been canning—or jarring—salmon for years, learning through hands-on practice, culinary books, and plenty of batch testing. That dedication even earned two blue ribbons at the Salt Spring Farmers’ Institute Fall Fair for my smoked canned salmon. Whether you fill your freezer with ocean-run Chinook or river Coho, knowing how to can salmon safely and consistently will completely elevate your home pantry.
Improperly canned fish can lead to deadly bacterial growth, specifically Clostridium botulinum. Fish is a low-acid food and must be processed in a pressure canner—never a boiling water bath. For comprehensive technical guidelines on domestic food safety, consult the National Center for Home Food Preservation.
While vacuum-sealed frozen fish remains great for up to a year, properly processed jars stored at room temperature maintain prime quality for three years or longer. A half-pint jar offers instant convenience: anyone in the house can pop a lid for lunch without defrosting, and jars make unbeatable gifts for friends and fishing partners. Best of all, the mason jars and screw bands are endlessly reusable.
ESSENTIAL EQUIPMENT FOR CANNING SALMON
Before you fire up the stove, assemble these core tools for safe and efficient processing:
- Pressure Canner: A dedicated pressure canner (such as an All-American 21½-Quart Pressure Cooker/Canner) is mandatory. Capacity dictates batch size; larger canners handle multiple stacked tiers of half-pints or full pints. Smaller entry units run $100 to $200, while heavy-duty commercial-gauge units range from $350 to $450+.
- Mason Jars, Lids & Bands: Standard half-pint (250 ml) or wide-mouth pint (500 ml) canning jars. While jars and metal bands can be reused for years, you must use brand-new sealing lids for every session to guarantee an airtight vacuum seal.
- Dedicated Heat Source: A loaded pressure canner filled with jars and water is extremely heavy and requires sustained heat for two hours. To avoid cracking delicate glass-top electric stoves, an outdoor propane burner stand is the ideal, heavy-duty solution.
You will also need firm, freshly caught or thawed salmon. While plain salmon can be jarred after a brief salt brine (1 cup of pickling salt to 1 gallon of water), cold-smoking your fillets first infuses rich flavor and conditions the meat for pressure cooking.
BRINING AND SMOKING PRIOR TO CANNING SALMON
Taking the extra step to smoke your fish yields deep flavor and firm texture. Follow this proven eight-step sequence:
- Prepare a Balanced Brine: Blend filtered water, soy sauce, non-iodized salt, brown sugar (or maple syrup), dry white wine, whole garlic cloves, fresh ginger slices, and coarse black peppercorns. Warm gently on the stove to dissolve solids, then chill completely in the fridge before submerging fish.
- Portion Fillets for Jar Height: Cut your fillets into clean vertical strips. Measure them against your jar, leaving 3/4″ to 1″ of headspace from the rim. Scale all skin thoroughly; scales impart an unpleasant texture during long pressure cooks.
- Refrigerate in Brine for 8 to 10 Hours: Keep submerged in a glass or food-safe container. A longer soak ensures uniform salt penetration.
- Quick Water Rinse: Remove pieces from the brine and quickly dip each into a bowl of cool filtered water to strip excess surface salt.
- Rack and Pat Dry: Lay salmon skin-down onto smoker racks and gently blot residual surface moisture with paper towels.
- Form the Pellicle: Dry under an electric fan in a cool, shaded area for 2 to 3 hours (or overnight in the fridge) until a glossy, tacky skin (pellicle) forms. This holds the smoke and seals in oils.
- Light Smoke for Up to 3 Hours: Because the fish fully cooks later in the pressure canner, keep smoker heat minimal. In a Big Chief smoker, vent the lid to release heat and burn 3 pans of maple chips (about one pan per hour) to add aroma without cooking the meat dry.
- Cool Down: Pull racks from the smoker and let the fillets cool for 20 minutes before packing jars.
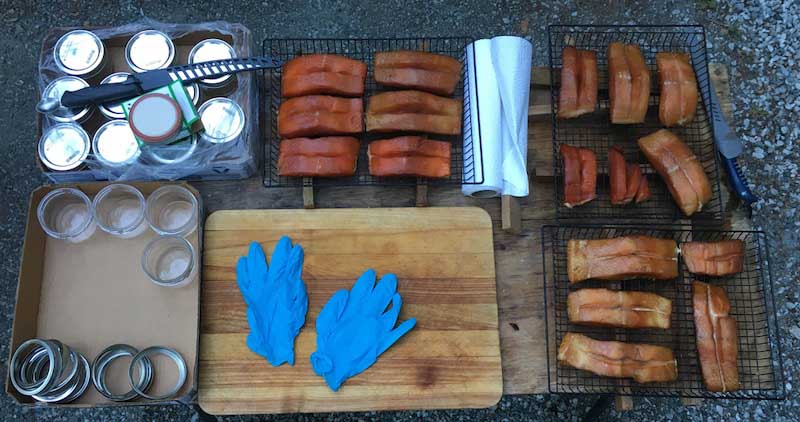
PACKING JARS AND LOADING THE PRESSURE CANNER
Set up a clean station with nitrile gloves to keep natural fish oils off sealing surfaces. Slice each fillet strip in half to pack jars neatly without mashing the meat. You can skin the strips or tuck a piece of skin at the bottom of the jar for added richness.
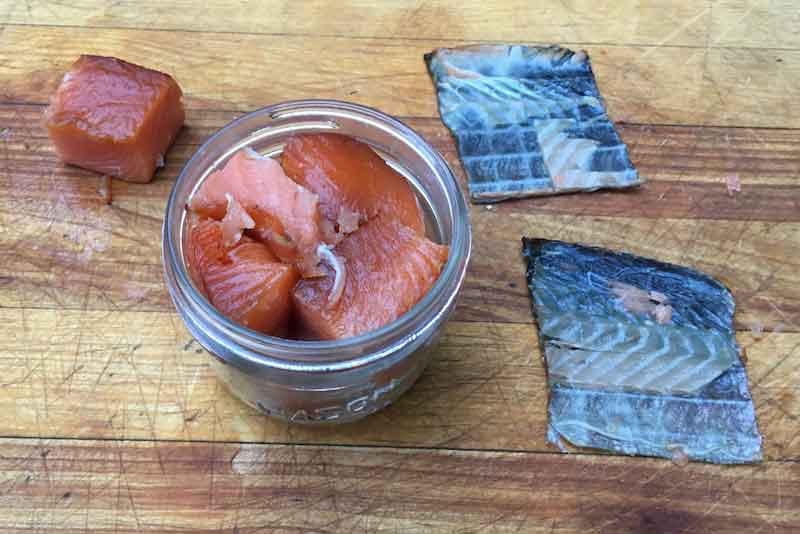
Thoroughly wipe each jar rim with a clean paper towel until it literally squeaks. Any speck of fish oil on the rim will prevent a vacuum seal. Center the lid and screw the metal band down fingertip-tight—snug, but not overtightened, so expanding air can escape during the cook.
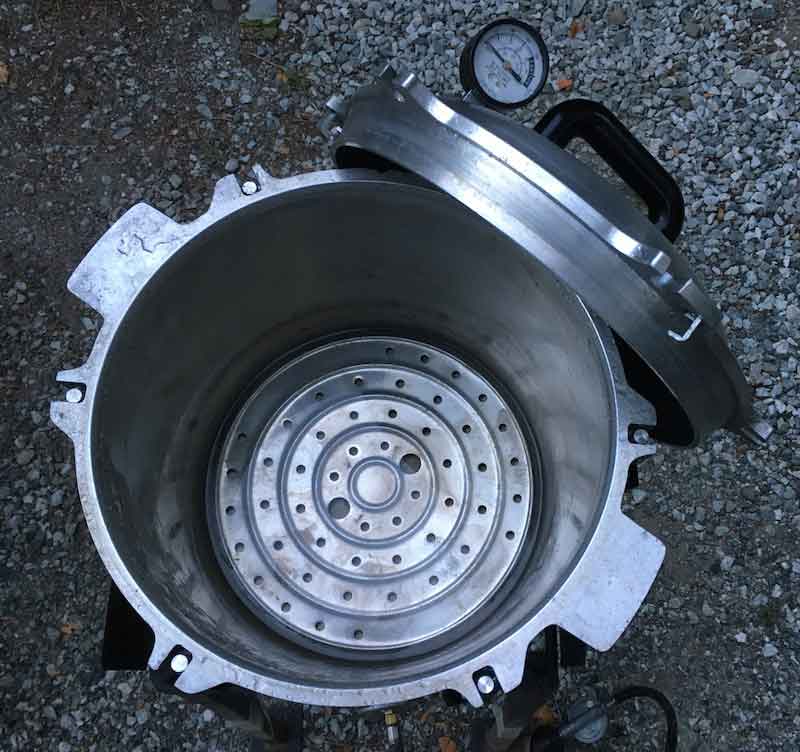
Insert the bottom rack into your pressure canner. Pack jars across the bottom grid in an upright circle.
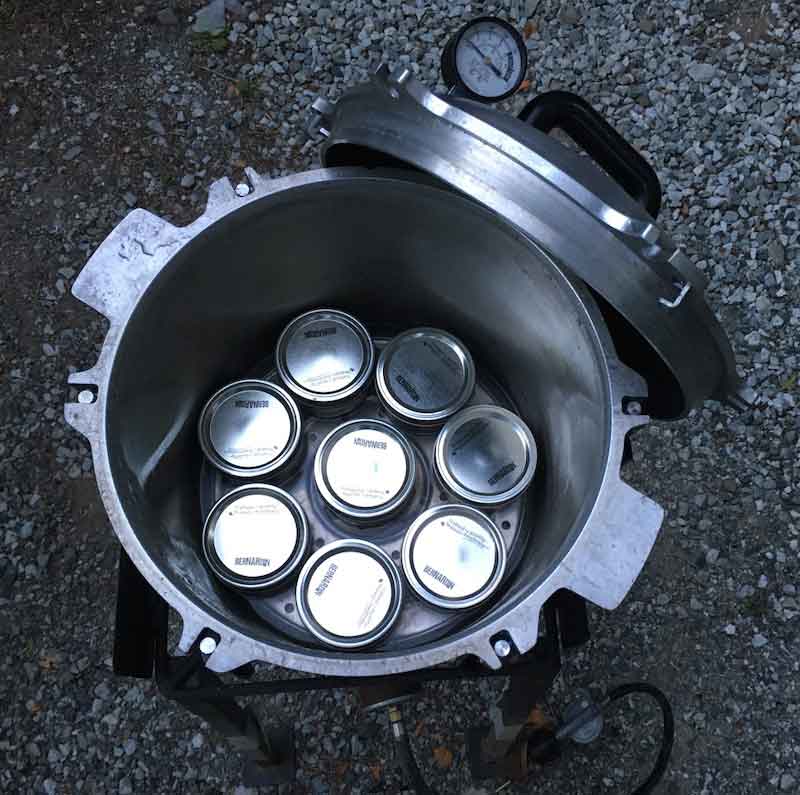
If stacking a second layer, place the divider rack on top of the first tier and add 1 to 1½ inches of water to the canner. For half-pint jars, water should reach just below the first tier’s rings.
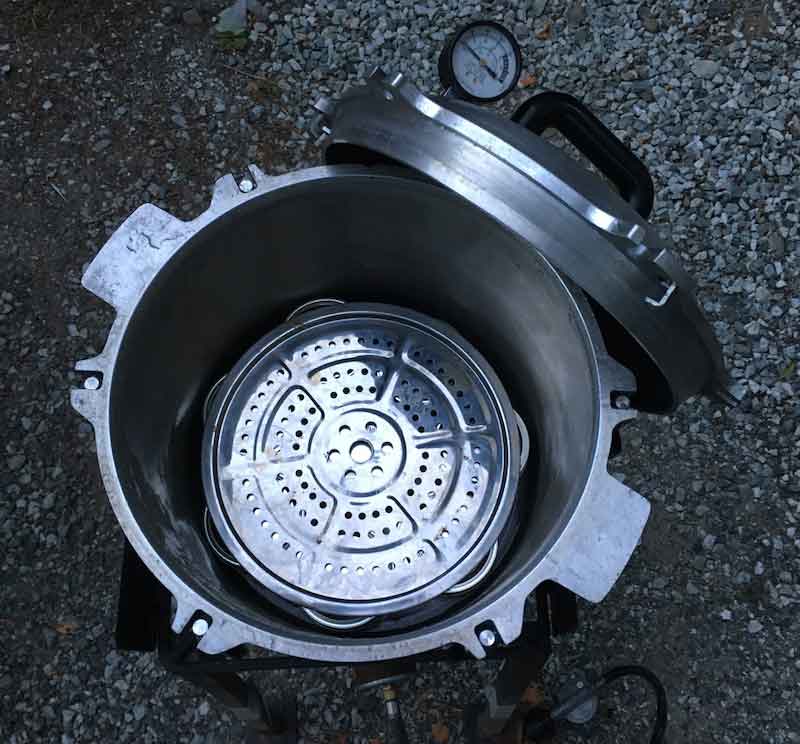
Before locking down metal-to-metal canners like the All-American, wipe the interior beveled rim with a thin coat of cooking oil on a paper towel. This ensures a flawless steam seal and prevents the heavy lid from seizing under high pressure.
THE COOKING CYCLE: MAINTAINING 10 LBS PRESSURE
Lock the lid down securely according to manufacturer instructions. Fire your burner on high to bring the water to a rolling boil. Allow steam to vent steadily from the open relief pipe for 10 minutes to purge ambient air from the chamber.
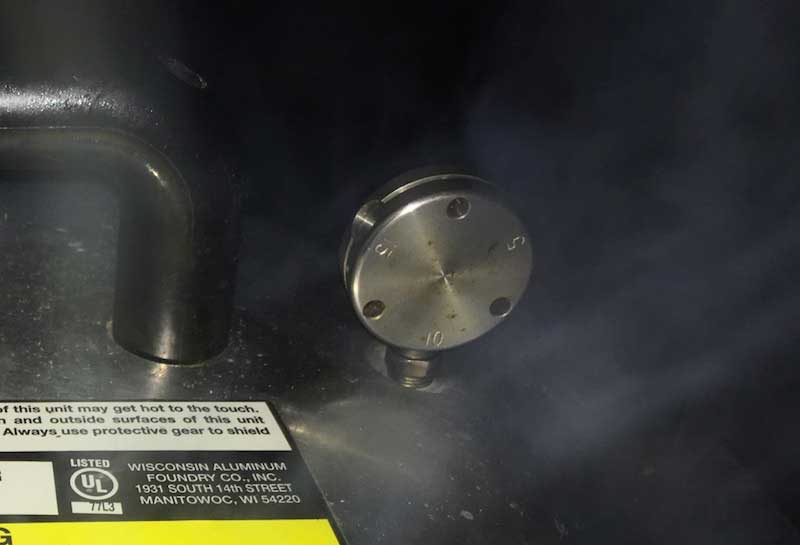
Using an oven mitt, place your weighted pressure regulator over the vent pipe set to 10 lbs of pressure (adjust to 15 lbs if canning at elevations above 1,000 feet). As the gauge hits 10 lbs, dial back burner heat to maintain equilibrium. The weight should rock gently 1 to 4 times per minute. Maintain 10 lbs continuously for 100 to 120 minutes. If pressure dips below 10 lbs at any point, bring it back up and restart the timer.
Once the processing time concludes, shut off the heat and let the canner depressurize naturally. Never force-cool the canner or remove the weight while pressurized. Once the pressure dial returns to zero, carefully remove the lid angled away from your face. As jars hit cooler air, you will hear the satisfying ping of lids vacuum-sealing.
Let jars cool undisturbed on a towel for 12 to 24 hours. Test seals by pressing the center of each lid: if it stays flat and doesn’t click, you have a solid vacuum seal. Remove bands, wash jar exteriors, label with the date and species, and store in a cool, dark pantry.
- National Center for Home Food Preservation: Peer-reviewed processing times, elevation adjustments, and USDA guidelines for meat and seafood.
- All-American 1930 Pressure Cookers: Heavy-duty metal-to-metal seal canners manufactured for large-volume home preservation.
- Pacific Salmon Nutrition Guide: Detailed nutritional breakdown of wild Pacific salmon species.
👨🍳 MORE WEST COAST SALMON RECIPES & PRESERVING GUIDES
Got a catch to process? Expand your smokehouse and kitchen repertoire with our top-rated guides:

Angler, Food Preserver & IFM Contributor
Robert Reinhardt is an accomplished food preserver and contributor to Island Fisherman Magazine, earning two blue ribbons at the Salt Spring Farmers’ Institute Fall Fair for his smoked canned salmon. Explore more authentic West Coast recipes and angling features by subscribing at Island Fisherman Magazine.