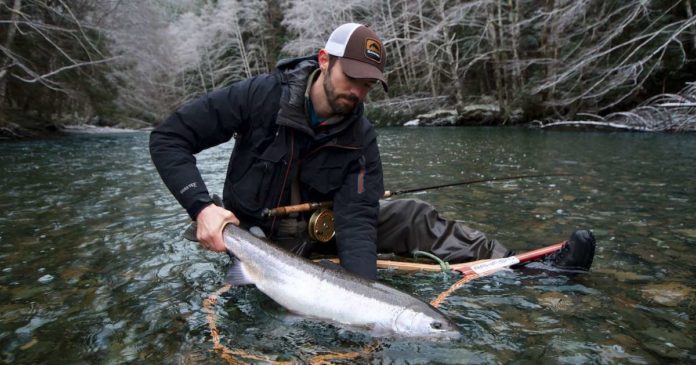
Some say we’re crazy. We’re certainly relentless. And we’re definitely addicted to being out on the flow, chasing the fulfillment of the tug after a solid bobber down. We also know there’s no guarantee when mother nature holds all the cards. We venture back to the wa- ter time and time again, long before and long after the seasonal fishing crowd has come and gone, no matter the weather. And those of us who are obsessed with steelhead fishing—“chasing chrome”— wouldn’t have it any other way.
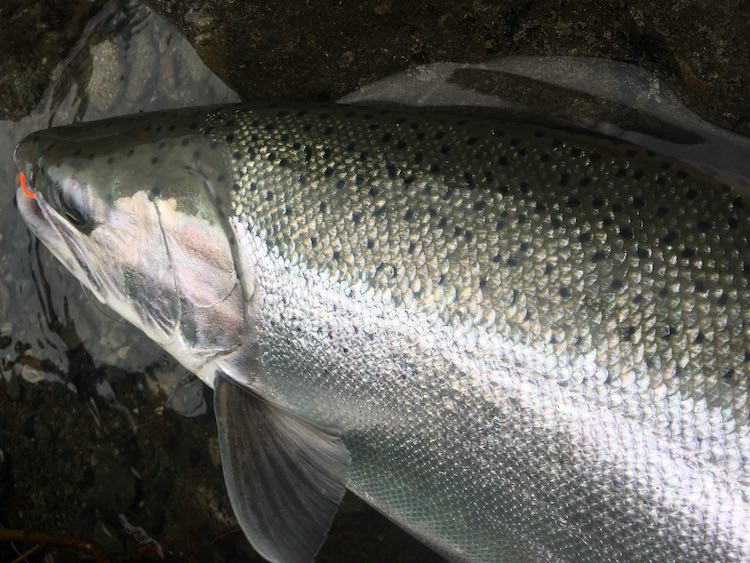
If you want to join us misfits going after steelhead, you need to have a few essentials in your tackle box: beads, marabou jigs, and worms. Here’s how to take those weapons and get your quarry.
Fishing The Bead
When it comes to bead fishing, you want to make your presentation as natural as possible. Beads have become popular because they’re effective imitating eggs drifting downstream in the water with their neutral buoyancy. Size does matter; determine what salmon are in the river, and the average size and colour of eggs these “chromers” will be expecting. Pink, orange, and red are the main colours to work from. It pays to carry a wide selection of colours and sizes, and it doesn’t hurt to have variations of each colour, so build up an inventory for your arsenal. A range of bead sizes (10 mm, 12 mm, and 14 mm) are important to have ready for any scenario. There are days that picky steelhead will only want a certain size and colour, so be prepared. In clear water, think smaller sizes and lean towards starting with pink beads between 8 mm and 12 mm. In coloured water, run a bright red or UV-coloured bead in 14 mm and 16mm.
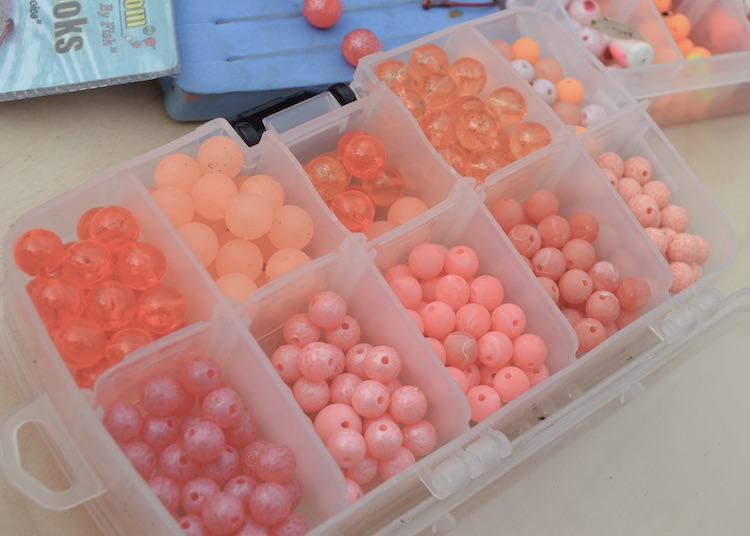
I would suggest a #4 hook for all beads up to 12 mm, and #2 hook for 14 mm and up. Leader line value will depend on your comfort level. In low and clear conditions, I recommend a 6- or 8-lb test. On an average day, 10 lb is your go- to. In high and murky conditions, you’ll be able to go 12 lb or heavier.
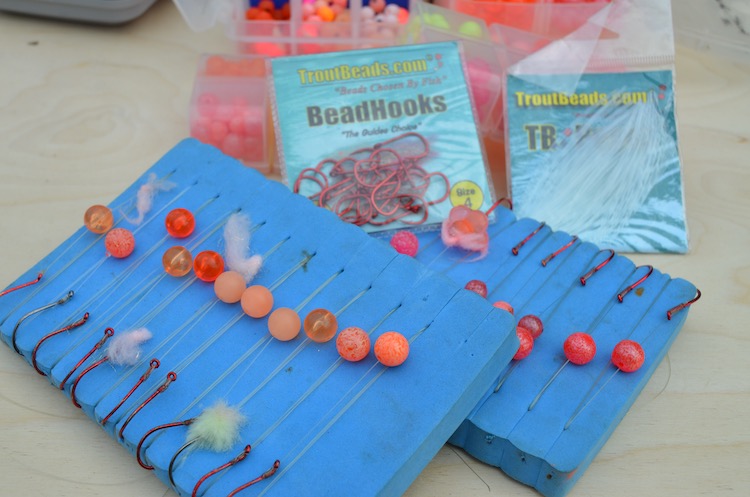
When using a bead, keep the presentation 2 to 3 inches above the hook by pegging the bead. Pegs are available at your local tackle shop, or you could use a toothpick. This is done to ensure a solid hookup when the steelhead takes the bead by having the hook in the optimum position to find the corner of the mouth.
Marabou Jigs
Believe all the raving you hear about marabou jigs. When we first started using them here on the west coast, it was only for a specific application. Now, I always have a rod or two tied up with them in my arsenal when I hit the water, and we fish them all day in every kind of water. Simply put, marabou jigs are effective and here’s why: The marabou takes on a life of its own when it is released into the water. Add a frictionless drift and it comes alive in the water column. It is much like a modern steelhead fly on terminal gear.
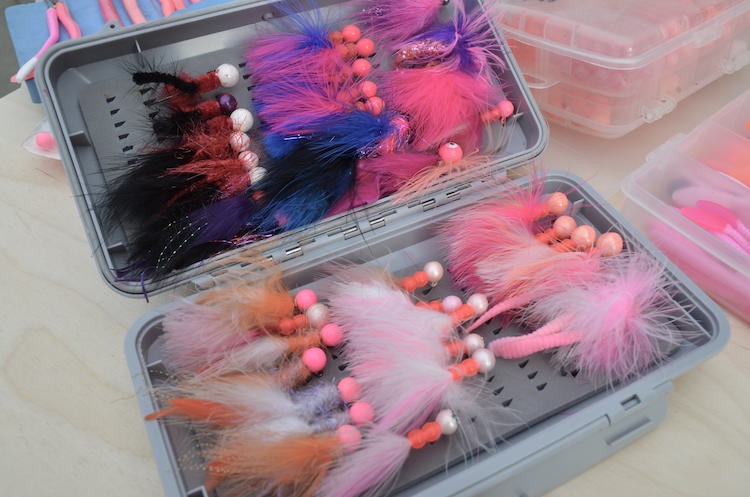
There are two ways to steelhead fish jigs: frictionless with braided line on a spinning rod and on a standard baitcast setup with mono. Both applications work, but the edge definitely goes to the frictionless method, as it produces a natural-looking presentation that steelhead key in on.
The key to the frictionless method is to run a 10.5-ft spinning rod with a reel that has the capacity to hold 200 yards or more of 20- to 30-lb braided line and has great pickup speed. You want the rod length to mend and slack in the floating braided line, and the spinning reel makes it easy to free spool the braid and have next to zero resistance as your drift heads down stream. You always want the float straight up and down, never pointed upstream or downstream. If the float is being pulled in any fashion, your presentation is not right and isn’t frictionless.
Attached to the braided line I use a 10-ft section of 12-lb test attached by a uni knot. On this I will add my 20-gram float, weight, and swivel. From here I tend to run 8- or 10-lb leader, depending on conditions.
There are two sizes of marabou jig: 1⁄8 oz and 1⁄4 oz. In terms of colour, your best bet is to stick with light pink, light pink with white, hot pink, hot pink with blue, and white, red, and black. These colour combos are tried and true, but it never hurts to pick a few fun-coloured jigs as well to mix things up.
The awesome part about fishing jigs is that steelhead hit them aggressively and don’t spit them out right away. This is really nice for youth or beginners who don’t have their form and function down quite right—or for those times when you might not have an eagle eye on your rod tip.
Worms For Steelhead
If there is one thing that hasn’t changed in steelhead arsenal over the past 30 years, it’s the synthetic worm. Worms should be a part of everyone’s playbook for a day on the river; I, for one, never leave without them. On any given day, I probably have 20+ worms tied up on cork boards in my bag. As with beads and jigs, variety is your friend when you’re on the flow. The advances in steelhead worm production have been amazing, and we have many more colour and size options than ever before. Gone are the days of being limited to the “classic” pink worms! Now you can get a vast array of colours at your local sporting goods shop, and if you still can’t find what you’re looking for, you can custom order any colour combo you can think up. The steelhead are in trouble!
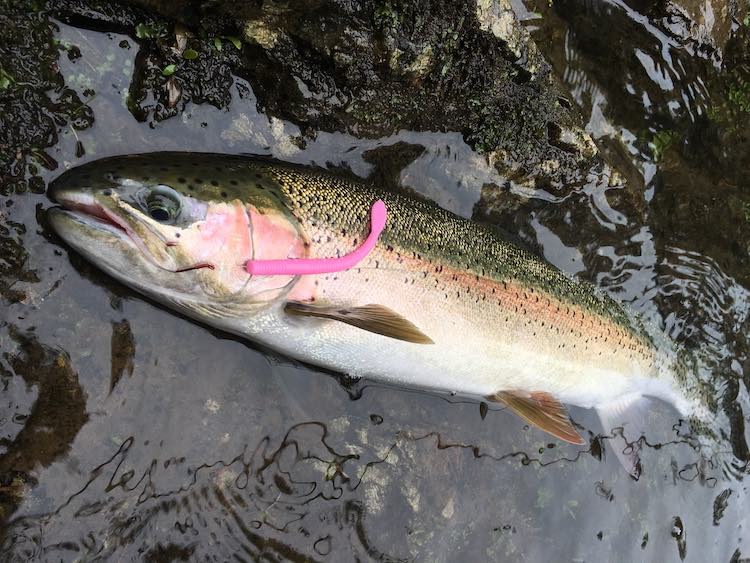
There are so many variations now that I want to suggest picking only a few at first and expanding the collection as you progress in the game. As with beads, pick three or four colours and sizes to start. Three go-to colours are hot pink, bubble gum, and shrimp pink. Bubble gum pink and shrimp pink work well in clearer conditions, whereas hot pink and UV pink are well-suited for high water and murky conditions.
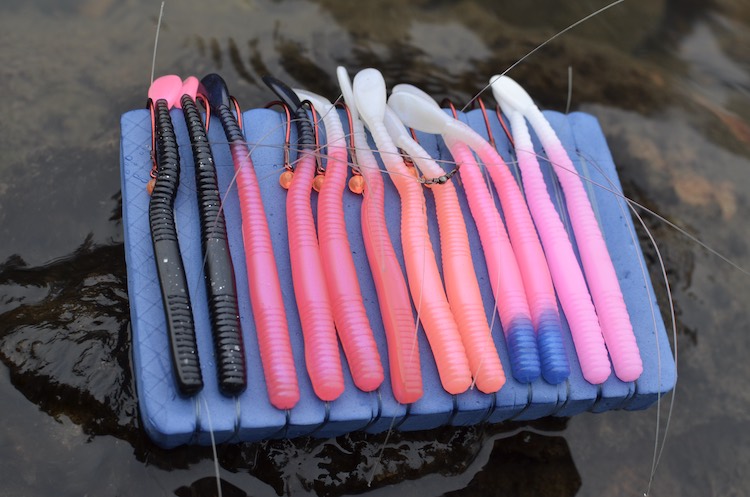
Don’t be afraid to run a little larger hook with your worms. I tie a lot of #1, #1/0, and #2/0 hooks with my worm rigs. This definitely helps the steelhead find the hook instead of just a mouth full of rubber. Running a small bead or sequence between the hook and the worm will stop the worm from passing over the eye of the hook and onto the shank. This small step will save you time on the river bank and keep you casting instead of re-rigging your worm!
Wacky Style Worm Rigging
The first of the three ways to run worms is called “wacky style.” This is the easiest way to get rigged in mere seconds and be able to swap out worms on the fly without tying on new leaders. You do not thread the worm on the line of the leader here; all you do is find the center of the worm and stick the hook directly through it. The worm will hang from your hook in a “U” shape. When running worms like this, I suggest you upsize your hook, as the worm takes up some real estate on the bend of the hook. Try #1/0 for 4-in worms and #2/0 or larger for the bigger worms. I have found this method very deadly due to the action given to the worm in the current, but be ready to lose a few worms—this rig doesn’t hold the worm as securely as the others.
Upside Down Worm Rigging
The second style is “upside down.” Tie your leaders up and add a very small bead on each leader line before starting the threading process. Here I prefer to use a spinal needle rather than a general point-and-loop worm needle to save the material from cutting through on the leader while sliding the worm down.
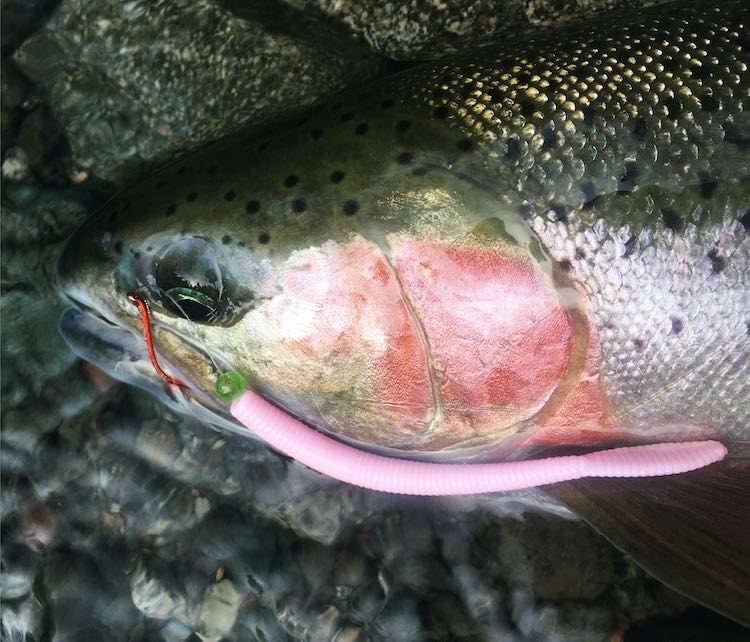
I start threading the worm from the head and pick a point two-thirds of the way through before punching through. This will have the hook at the head and leave the tail unrestricted to wiggle and bounce through the current. This is my go-to method, as I feel I get decent action and the worm is secure enough to land several fish on it before showing signs of wear.
Traditional Worm Rigging
The last style is “traditional.” Start the same as for upside down by tying your leaders and adding a small bead. At this point, thread your worm onto the leader starting 1⁄2 inch up from the tail and do your best to stay centered all the way through to the head. When done correctly, the hook will sit flush with the bottom of the tail of the worm. This rig style is still my preference when fishing lots of fast water, as with the beads. The hook tends to find the corner of the mouth as the gear passes the fish.
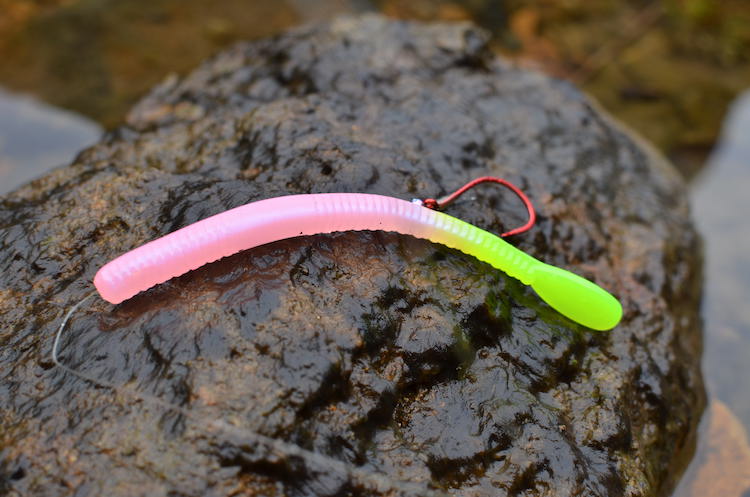
I know I said three, but here’s a bonus: Whatever worm you’re addicted to at the moment can be threaded on any colour jig head of your choice. Be sure that it is at least a #1/0, and you’re off to the races with a worm jig.
Whether you’re getting out for the first time of the season or spending more time at the river than you are at home, these rigs will load your arsenal for chasing chrome this winter.
This article appeared in Island Fisherman magazine. Never miss an issue, subscribe today!


