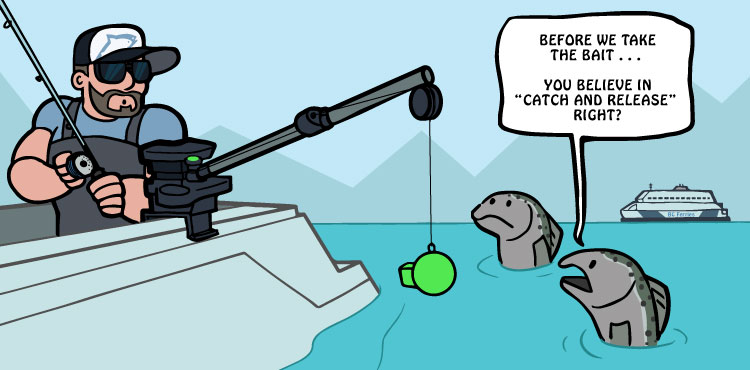
Like most of us, I spend part of my free time scrolling through various online fishing reports trying to stay on top of the latest news or find the best bite around the island. With new Fraser River Chinook conservation measures in effect this year, I’ve been reading a lot more posts about anglers catching and releasing Chinook.
Most anglers are educated on proper handling and release practices, but every now and then I see a picture or a video posted with improper handling techniques. I can’t help but wonder how many of those fish live to reach their spawning grounds and how many eventually just become food for the crabs after bleeding out?
I did some research, and from talking with DFO Section Head Wilf Leudke, I learned there was a study done in the 1990s that determined Pacific Chinook salmon average a 10-20% mortality rate after going through the process of being caught and released by sport fishermen. Mortality rates varied based on a few factors: where the fish was hooked (lip, arteries, gills), the type of hook and lure used, how much time that fish spent out of water, the skill levels of the anglers, and how the fish was handled.
Growing up fishing the Great Lakes in Ontario, all we did was catch and release fish, mainly salmon. I’ve had lots of practice over the years and hope that after reading this, you’ll learn a few things so that we sport fishermen can minimize our footprint on the fishery and reduce the mortality rate of the fish we let go.
Here’s a quick rundown of what you need to know to safely perform “CPR”—catch, photo, and release—out on the water.
Boat Position
We all know that in most fishing spots, there’s the spot, and then there’s the spot on the spot—that little honey hole where you know they like to sit on certain tides or at different times of the year. Often, it’s up against a rock wall or a kelp bed, with all kinds of current, wind, or waves pushing you up against it.
First off, don’t even put yourself in a vulnerable position like that without proper training, experience, and thorough knowledge of the area and how your vessel handles in all situations and conditions. You always want to be thinking, “Where am I going to go or what am I going to do with my boat if I hook up here? Where is the safest place for me to land this fish?” Once there’s one on the line, take a look at where your boat position is and be mindful of your surroundings. The next 5 to 20 minutes require your utmost attention and incredible multi-tasking skills for a successful landing, and you don’t want to put the safety of yourself and your crew in jeopardy because you were distracted at the back of the boat dealing with a fish.
Pay attention to where the other boats are and the direction you are heading. Which way are the tide, wind, or waves going to push you as you deal with your fish? Are you going to need to pull the other rods up and slow down to release this fish? Which direction are you going to head while adrift? Are you away from any rocks, hazards, or obstacles? Is your fish going to run into someone else’s gear or motors while fighting it? Don’t be afraid to communicate with other boats on the radio: “I’ve got one on a screaming line headed right for your boat, heads up!” is all it takes sometimes for them to maneuver out of your way.
If it’s a busy area, peel out of the tack once hooked up, and fight your fish away from the other boats to avoid a mix-up. Be mindful of the sea or water conditions, and avoid putting your boat sideways to the waves and swell—the boat will throw people around a lot more that way, and those without great sea legs are more susceptible to injury or, even worse, a man overboard situation. It’s best to go with the flow and keep your boat heading the same direction as the waves, if possible.
Know your vessel. Don’t let everyone rush to one side of the boat to look at the fish, and always keep your head on a swivel. Be prepared for that next wave, and vocalize to your crew if need be: “Hang on here guys, good one coming.” Always keep your center of gravity on the inside of the boat when leaning over to net or grab a fish and remove hooks.
Minimizing damage to the fish should be on everyone’s priority list when fishing. The kind of gear we use has a lot to do with the mortality rate of released fish. The rods, fishing line, lures, hooks, nets, and tools we use all play a role in helping a fish swim away unharmed.
Gear
Sunglasses: This is more for your safety than the fish’s. You spend enough time fishing and you’ll have some close calls. I’ve had hooks in the neck, ears, hands, and yes, a few hit the lens of my glasses. Barbless hooks and feisty fish, combined with inexperienced fisherman, equals a recipe for flying hooks, especially when trying to “tail” those trophy fish, which I’ll explain later.
Rods and Fishing Line: Using slightly stiffer rods and stronger test will help shorten the fight time these fish go through. The faster we can get that fish to the boat and unhooked to swim away, the better. Sure, half the fun of fishing is the fight and playing those fish out, but if you know you’re going to release it, be mindful of the stress and exhaustion you’re putting that fish through.
Flashers: Using in-line flashers puts a lot of resistance in the water and increases exhaustion rates when fighting those fish. Running a “dummy” flasher off the cannon ball can still provide the same attraction effects without the extra pull. Plus, fighting a fish without a flasher is way more fun!
Hooks: Using tandem 4/0 hooks in a hoochie or running a “stinger” hook off the treble of an anchovy is a deadly setup. It works extremely well and fish are rarely lost, but they do a tremendous amount of damage to fish being released. It’s best to use a single barbless J hook when fishing an area where you’re likely to be releasing a lot of fish, and match the hook size accordingly. If you’re catching all smalls, downsize your hook to minimize damage to the fish.
Lures/Bait: Studies have shown that mortality rates almost doubled when fishing with bait, both mooching and trolling with anchovy and herring. The slower trolling speeds and the commitment level to the bait often resulted in gill- or gut-hooked fish. Spoons and hoochies with a single barbless hook are the best options when planning to release fish.
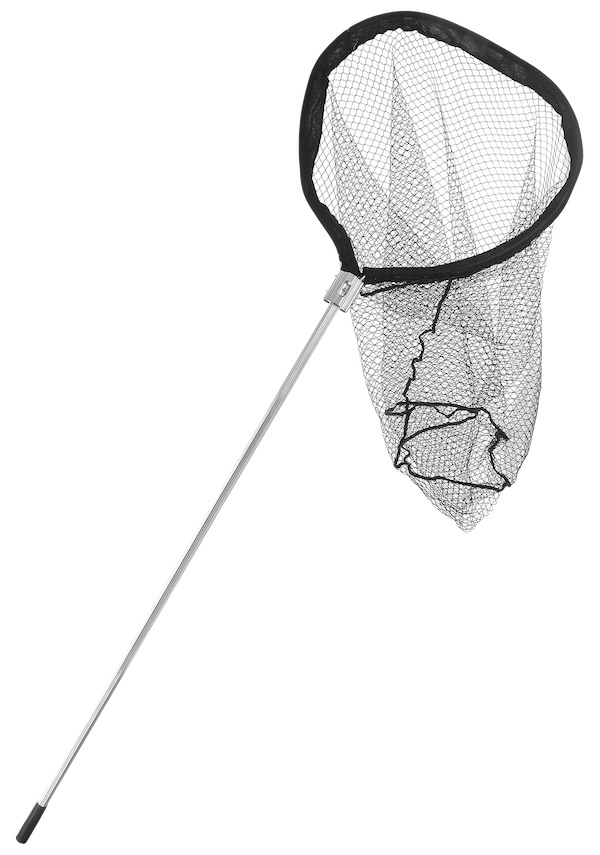
Nets: Avoid using nets made of polyester with “knots” in them. Studies have shown these to be very harmful to salmon because they take the slime or mucus off the fish. This slime is vital to the fish’s health and its overall immune system. The best nets to use are designated catch-and-release nets, made of rubber—ask your local tackle shop for a catch-and-release salmon net.
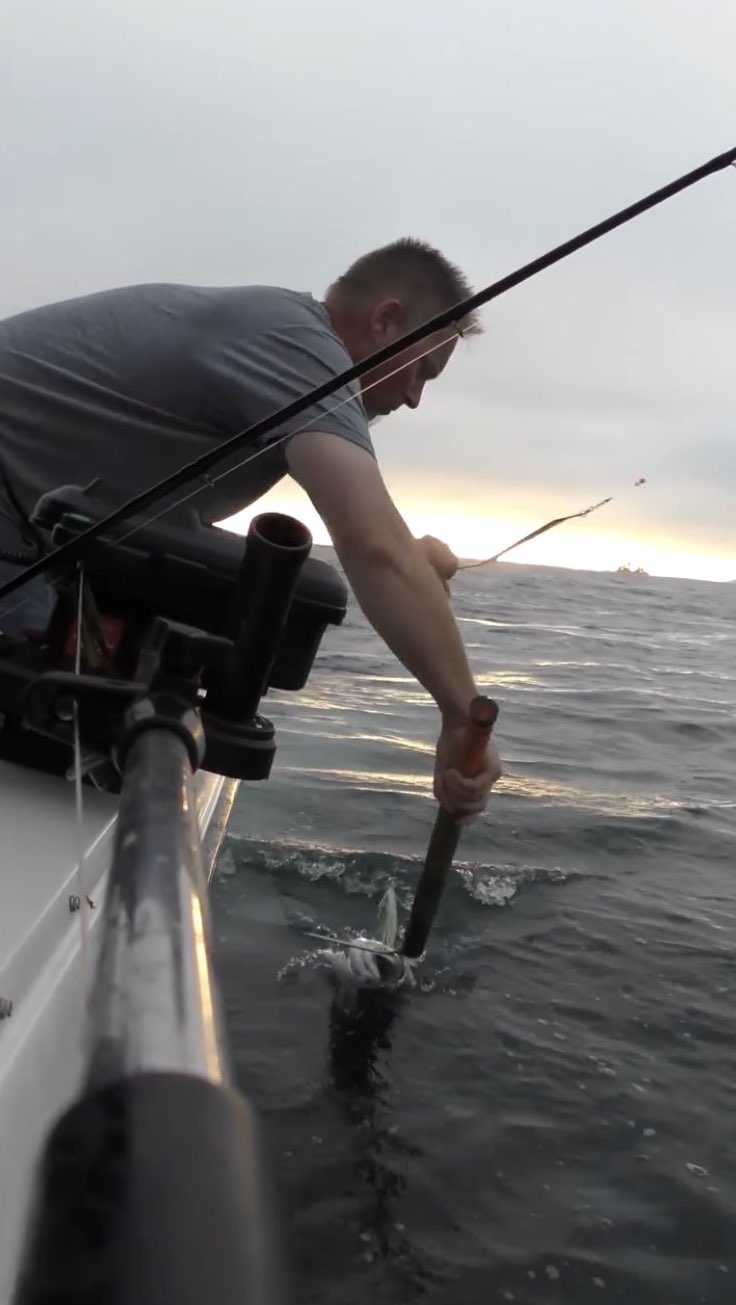
Gaff: A gaff is a must-have on any boat—in fact I have two, in case I lose one. Using a gaff to remove the hooks is the fastest and safest way to release a fish. I’ll explain how later.
Hook Cutters/Pliers: Pliers are one of the easiest tools to use when removing a hook from a fish’s mouth. Hook cutters are mostly needed when bottom fishing and the fish is gut-hooked or the hook is deeply buried. Instead of trying to remove the hook from the fish’s belly or badly hooked area, cut the hook as close to the fish as possible and get it back in the water quickly. Trying to pull that hook out from the inside of a fish is certain to damage it. Always try to cut the hook where it meets the fish rather than cutting the line; if you cut the hook, the fish has a chance to pass it.
Seaqualizer: Descending devices are now mandatory on all boats in BC planning to bottomfish, and this device is by far the easiest to use. Clip it to your downrigger, set the desired release depth, attach it to the fish, and send it down. Studies have shown that the Seaqualizer decreases the mortality rate of rockfish by up to 83%. If you trolled up a rockfish while fishing for salmon, slow your boat down and release all rockfish the ethical way.
Safe Catch-and-Release Technique
Finally! A fish is on the line! What happens next on any given boat is always fun to watch. There’s a mad scramble to clear the deck of anything in the way, usually lunch pails and half-eaten sandwiches that fell out of your lap running for the rod. Everyone’s on their feet in anticipation of seeing what’s on the line, and someone’s usually rushing for the net. Personally, I’ve always found it bad luck to touch the net before you can see the fish; you don’t know what kind of fish it is or if you’re even allowed to keep it. Plus, you’re probably standing in the way of the helm with it.
Deciding Which Fish to Keep: When it comes to areas and times of legal retention, a lot of people look at the size of the fish and decide from there. We need to start getting away from this mentality and start looking at how that fish is hooked and make our decision on the likelihood of that fish surviving the fight. If it’s a smaller, legal fish that’s badly hooked or bleeding and retention is open, the right thing to do is keep that fish. You’re no different than a commercial trawler killing salmon for fish farm food via by-catch if you let that injured fish try to swim away, all because you wanted a bigger one. If retention is open, keep the fish that are bleeding.
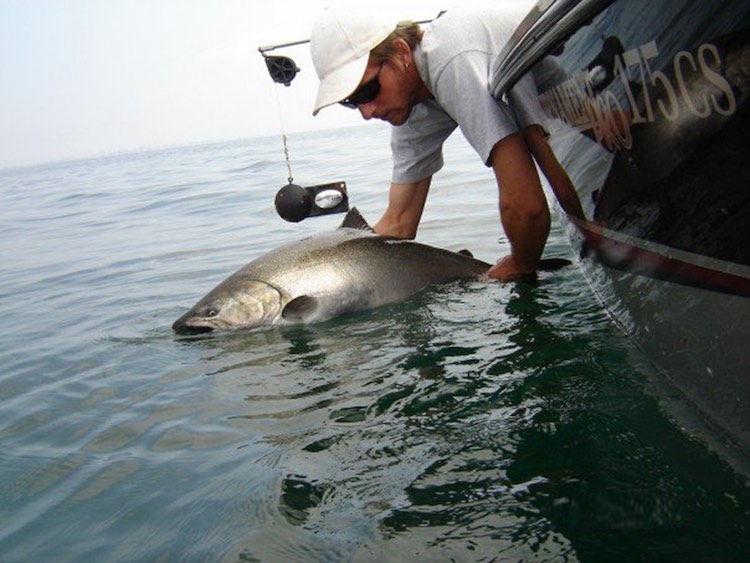
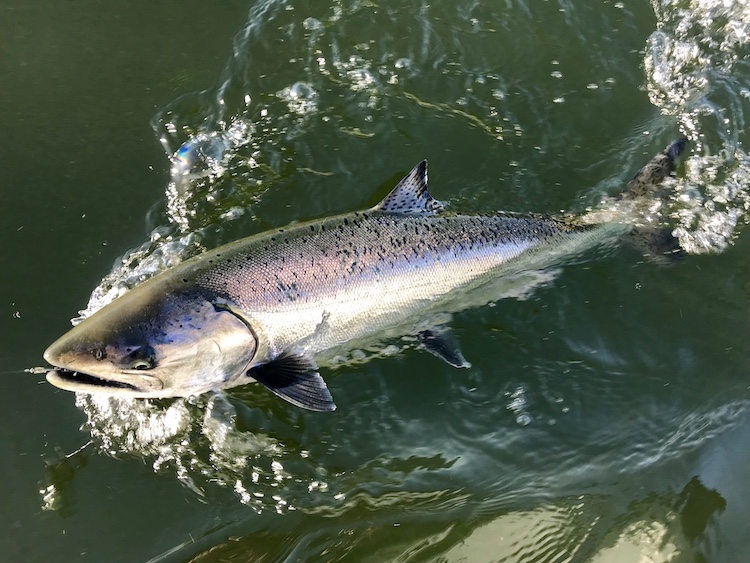
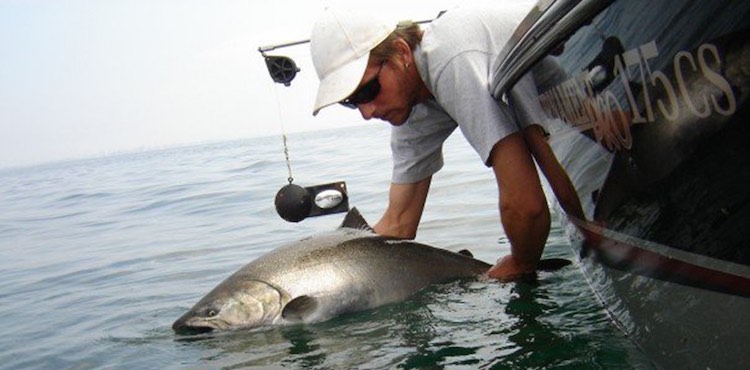
Boat Side Release with a Gaff or Pliers: The easiest and safest way to release a fish is by never bringing the fish in the boat in the first place. I know it’s not the best for profile pictures, but if you can snap a picture or video of the fish in the water without ever touching it, you just gave that fish the best chance of survival after releasing it. Use a gaff or pliers to remove the hook alongside the boat. Ideally, you’d be using a single hook in this situation. With the gaff in one hand, grab the flasher or line with the other and slide the gaff hook down along the line until you reach where the hook meets the mouth. Bring the hand with the line/flasher down towards the water and lift up with the gaff hook while twisting 90 degrees, almost as if you’re “popping” that hook out. Be mindful the person at the end of the rod doesn’t pull the hook into your hand once that hook lets go.
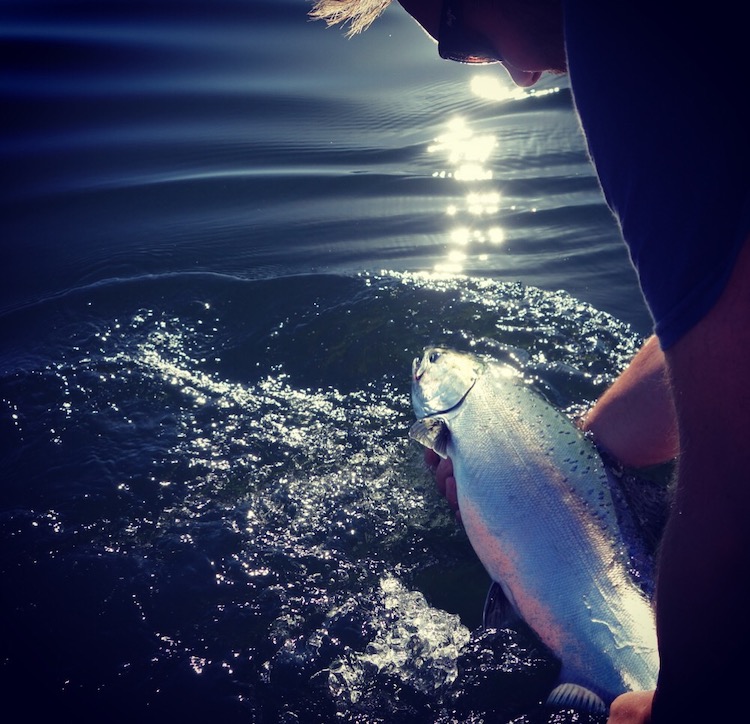
Tailing a Fish: In my opinion, the least harmful way to grab a photo of your catch is to “tail” the fish—essentially leaning over the boat, grabbing the line, and then grabbing the fish by the tail. Once you’ve got the tail, support its belly as you lift it in the boat for an easy hook removal, quick photo, and then back into the water to swim another day. Make sure to wet your hands before touching the fish, and hold on tight once you’ve got it. Nothing kills a fish faster than dropping it on its head! Watch out for flying hooks as you lean over to grab the fish. I can guarantee that fish is going to take a couple good runs once it sees you up close and feels your hand trying to grab it. Remember, keep your center of gravity inside the boat and watch for waves in this very vulnerable position you’ve just put yourself in.
Netting the Fish: Gaffing and tailing a fish isn’t for everyone; it requires practice, and you may snap a few leaders learning. Netting a fish that you plan to release puts a lot of stress on it, and what happens to that fish in the net will determine whether or not it’s going to live. Slow your boat down so you’re not moving, and always wet your net and your hands first—that slime on the fish is crucial to their survival. The reason you slow your boat down is because once that fish is in the net, we want to keep it in the water. Hang your net off the side of the boat so your basket is as big as possible with the fish inside, swimming “freely” alongside the boat. If the boat is moving, the fish and net will be difficult to control and will drag alongside the boat. Remove the hooks from the fish in the net while it’s in the water. Once the hooks are out, you can grab the fish by the tail, support its belly, and bring the fish in the boat. If you bring it on board in the net to remove hooks, be sure to remove the fish from the net as quickly as possible, without letting the fish flop around the deck or rub against the net too much.
Holding the Fish for a Picture: Be sure to have your camera ready before the fish comes out of the water. Avoid holding the fish near the gills, and never hold the fish vertically. It is very unnatural for a fish to be held vertically, and the weight of gravity on their organs can do enormous damage. Always support the belly and handle the fish out of water as little as possible.
Releasing the Fish: I’ve seen a lot of people take the fish out of the net from inside the boat and launch the fish back into the water head first, almost as if they’re dunking it, like a torpedo penetrating the water after being launched from a submarine. The rush of water through their gills brings them back and they scurry off to the bottom in a hurry. This method can work, but to be sure that fish swims away, lower it into the water slowly and let it sit in your hand under the water for a minute. You can push it forward to let water pass through the gills, or hold it forward into the current, but don’t drag the fish back towards the boat or hold it in a manner in which their gills flare open so the water flows through backwards. Fish don’t swim backwards, and it’s unnatural for them. Once you can feel that fish wanting to kick and swim away, give it one final push and say goodbye. Now high-five the rest of the crew and do it all again!
Next time you go to release that fish, remember these helpful tips. That fish just might reach its spawning grounds in the fall!
Rob Frawley is owner and operator of Lucky Strike Sport Fishing in Tofino, BC.
Visit the Store
$34.99
$34.99
Featured Catch
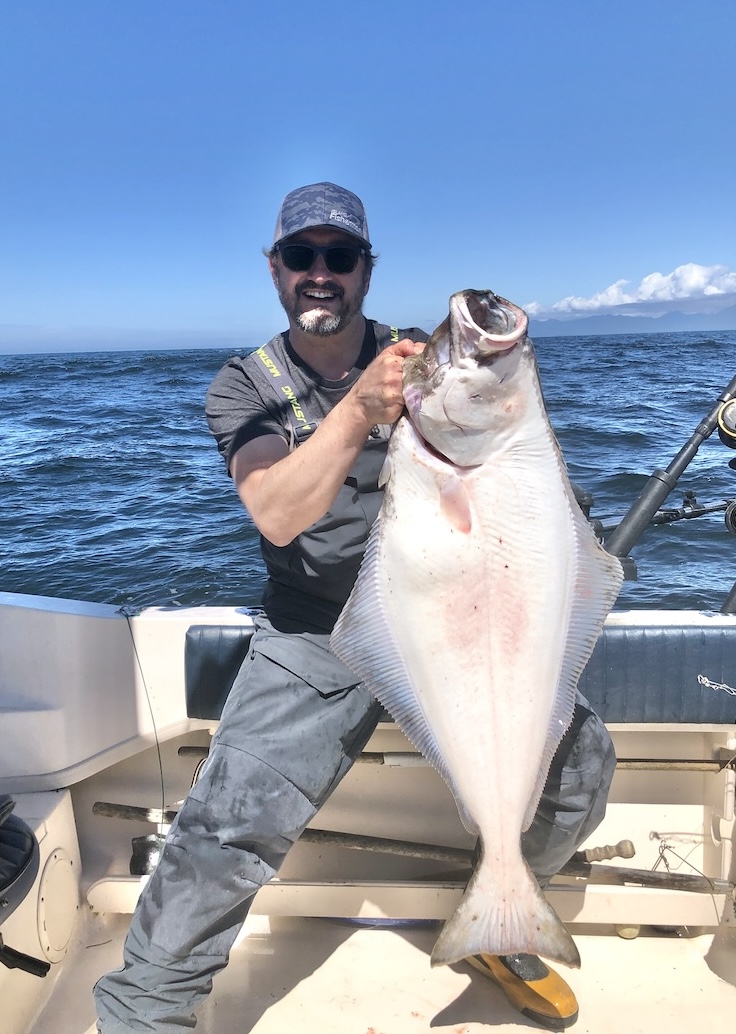
Joel Unickow halibut (Photo: Rob Frawley Lucky Strike Sportfishing Tofino)
