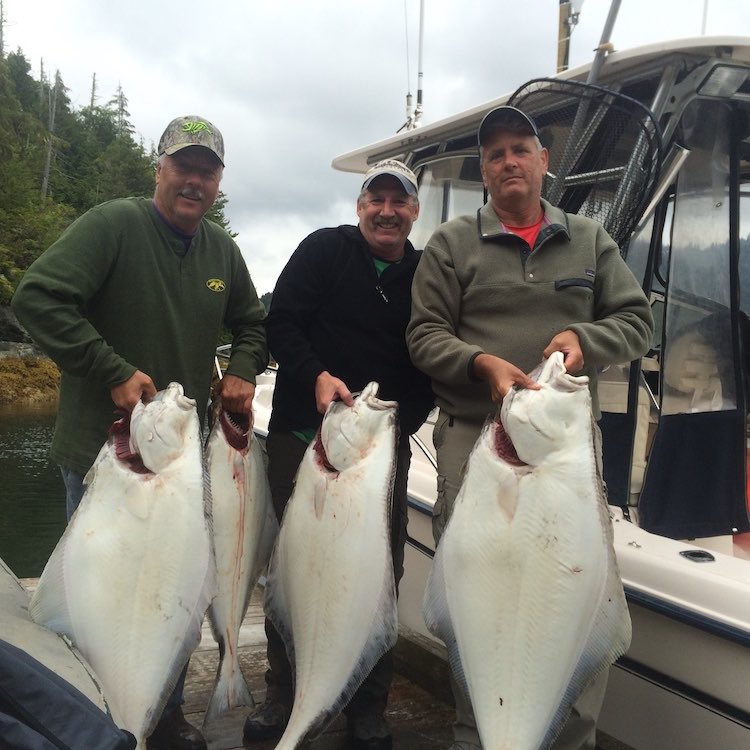
The 2019 halibut season in full swing, and with it brings the annual rush to get gear prepared and plan trips.
Regulation Changes
This season brings change in fishing regulations. Last season the annual limit was six halibut, with a daily possession of one fish and a multi-day trip possession limit of two fish. The larger of the two fish had to be under 115 cm, and the second fish had to be under 83 cm.
This season DFO are introducing a new “choice” model. The maximum size you can retain has increased to 126 cm (head on length), and the possession limit is either one measuring 90 cm to 126 cm or two measuring under 90 cm. So put another way, if you want to retain two fish, they must both be under 90 cm. If you keep a fish measuring between 90 cm and 126 cm, then you have made a “choice” to retain and possess only one fish. There is no change to the annual limit of 6 halibut.
Methods
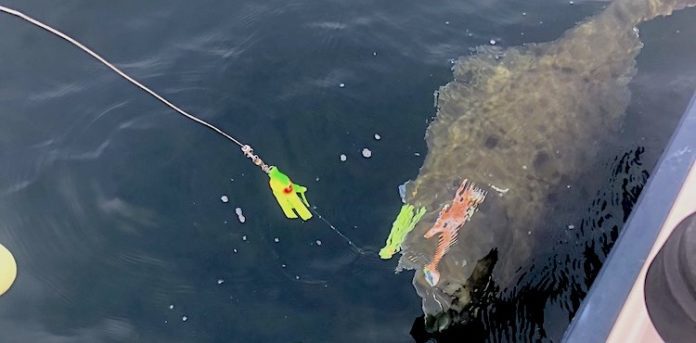
The most common setup for fishing is to use a spreader bar and attach a 2-ft leader with either a single circle hook or a double hook rig. I generally use the 2-lb weights to hold my gear near the bottom in currents. If there are no sharks around, effective baits are fresh salmon bellies, herring, sardines, or mackerel. In some situations, salmon heads are also a highly effective bait, particularly for larger halibut. I will often add a large hoochie skirt above the bait as an additional attractant. Another effective addition is attaching a scent chamber to your bait. In areas where there is heavier current, large spin and glows also add an effective sight and sound feature.
Where you have decent currents, another effective approach is to run the paddle tail swimbaits. At times, the action drives them wild.
If there are a lot of sharks around, using real bait may not be a good idea, as you will spend your day pulling up and releasing one mud shark after another. If you run into this, I find that the Berkley Power grubs work effectively, as the sharks seem to generally leave them alone.
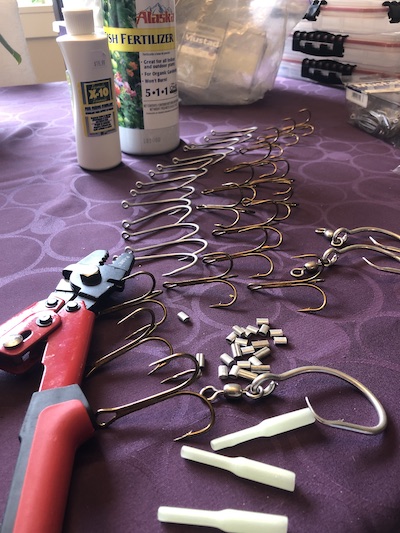
When tying halibut leaders, I use 150-lb clear mono. A great investment is a crimping tool and aluminum sleeves. This method makes for neat, clean connections that are super strong. One little tip in case you don’t crimp the sleeve enough: Burn a small ball on the tag end of your mono. I always leave a little extra length when tying my gear; that way I can use a lighter to burn the end, creating a larger ball on the end that will not pass through the crimp if I have one fail.
There are three basic approaches to targeting halibut: anchoring, drifting or back trolling, and trolling.
Anchoring
Anchoring is an effective technique to catch halibut, but success does depend to a large extent on selecting the right location. If you have never tried anchoring, it has some significant risks, and I would highly recommend you go out a few times with someone who can show you the ropes.
One of the big risks is tangling your anchor rope in the engine. Care must be taken to set the anchor by first understanding the direction of winds and current so that when you drop your anchor the rope plays out away from your engines. A second risk is not having enough scope or length of rope between your bow and a Scotchman buoy, which is connected to your anchor. If you are too close, pressure on the anchor rope can pull down your bow in heavy seas, which can roll the boat over in certain circumstances or pull the bow down to the extent you take on water. Similarly, another risk is having the ability to quickly break free from your anchor to avoid debris or other approaching vessels. To overcome this, run a fixed rope from your bow back to the rear of your boat, and install a quick release clip that allows your anchor to simply drop away in an emergency situation. You can come back later to retrieve the anchor and Scotchman buoy.
When on anchor, one way to attract halibut is to lower a scent bag on your downrigger. If you fish your gear behind your scent bag, the current stream will distribute scent to your bait. Try to keep some distance between your scent bag and your gear by swinging the rigger boom as far forward as you can towards the bow. The bag will disburse a scent trail that fish will follow to where you are fishing. I find that it often will take about 45 minutes for fish in the area to find you. Scent bags can be filled with fish scraps or prawn pellets soaked with various liquid attractants. You need to be careful that the downrigger doesn’t get caught up when you have a fish on, so I usually pull it up as soon as we have a fish on to avoid this.
The most common approach to fishing on anchor is to use a spreader bar and bait. I will lower the gear until it contacts the bottom, then reel up a few feet so that the bait is hanging just above the bottom. I then place the rod into a rod holder and wait for the bite. Any action on the rod is a bite, unless you are too close to the bottom. However, don’t be in a hurry to jump on the rod to set the hook. Let the fish grab the bait and start pulling some line. This is especially true if you are using circle hooks. Let the fish swim away with the bait and slowly crank down on the drag, which will set the hook. In the case of J or treble hooks, you still need to set the hook, but again let the fish have time to take the bait. Striking too early can simply pull the bait away before they have actually taken it.
Timing with the tide is everything. I find the best time is when the tide has started running. This will spread your scent trail and draw in fish to your location. If there is too much current, however, it is nearly impossible to keep your gear on the bottom.
Drifting or Back Trolling
A great way to cover ground is to simply drift with the current, or to slow down your drift by back trolling with your engine. A spreader bar setup with bait or a power grub will work effectively. Another equally effective method is to use a swim tail jig or mudraker jig. Sometimes you can enhance these jigs by attaching some bait or a scent chamber. Hang on to the rod with both hands; I’ve seen some pretty intense bites that have dragged the rod right out of an unsuspecting angler’s hands.
Trolling
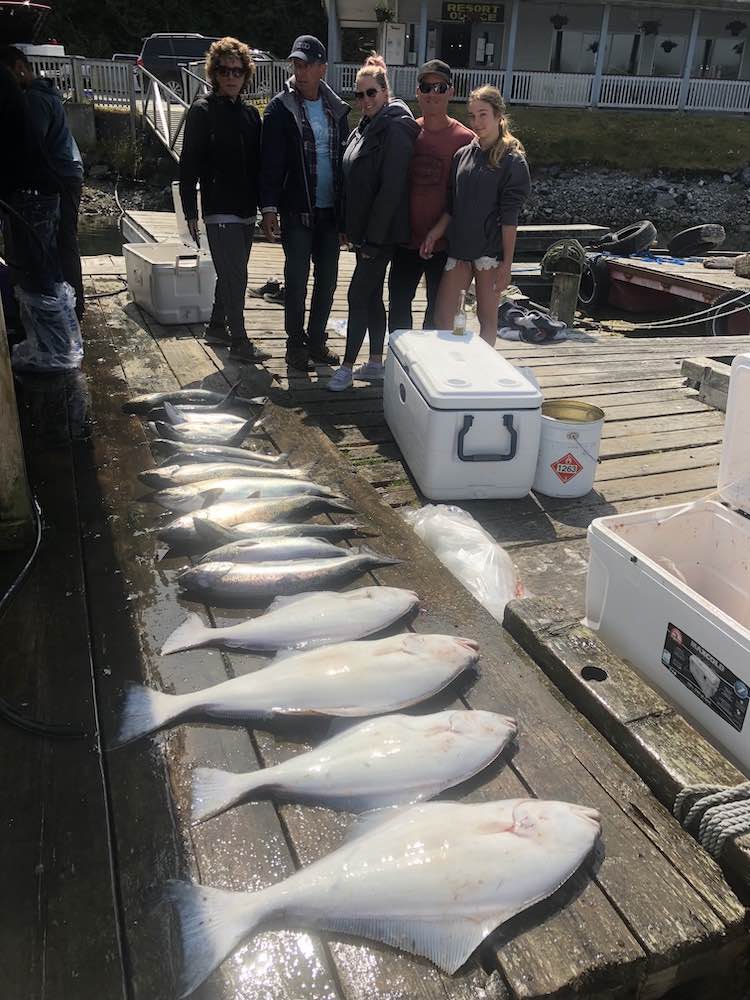
One of the easiest methods is to troll up your halibut. Of course, location is critical, in that you need a sand or gravel bottom where your gear won’t hang up. Trolling these flats or chicken ranches is often highly effective. My go-to setup is to use salmon gear with a flasher and a large hoochie called the “turd.” The nice thing about this method is often you will catch both halibut and salmon when down in the “mud.”
In terms of technique, we simply lower the cannonball all the way until contact is made with the bottom. Generally your gear will swing back and run just off the bottom on the first contact. In heavier current, however, I will often lower the cannonball a second time following the initial contact to ensure the current hasn’t blown the ball way back and off the bottom. The key is to be close to the bottom, but not necessarily dragging your gear on it.
Halibut bites while trolling can often be fairly light, so it is important to carefully watch the rod tip. Once you have a fish on, slow and steady wins the race. You can slow the boat down to make it easier to pull up a fish. The critical factor is to bring the fish up slowly. Generally speaking, while trolling you will more often catch smaller fish.
Measuring Large Fish
As we have a slot limit requiring careful live release of fish over a slot size, I have a measurement stick ready that has a long string attached. This allows me to place the floating stick in the water and slowly align it to the fish so that I can measure to be certain it is a fish that we can legally retain. If not, we carefully remove the hook. In cases where we are unable to reach the hook, I will cut the line.
Landing Hali
To avoid injury or damage to your boat, be aware of the power of larger halibut. Small halibut are generally fairly easy to deal with. My preferred method for landing them is using a gaff. Start by slowly bringing the fish to the boat, taking care to keep the fish below the surface to avoid spooking them. If they thrash around on the surface, you risk them throwing the hook. Carefully gaff the fish and swing it on board. Be prepared for a lot of thrashing on the deck. Smaller fish generally won’t do a lot of damage, but don’t try this on larger fish.
For larger fish, I prefer to use a harpoon. It’s the same approach as using a gaff—slowly bring the fish toward the boat, keeping it under the surface, and aim for just behind the pectoral fin. You can either tie your harpoon rope to a boat cleat or use a Scotchman attached to your harpoon rope. After gaining control of the fish, I will cut its gills to bleed it out. Ensure the fish has bled out and is dead before bringing on board. If you do bring a fish on board that is still active, you can calm them down by flipping them white-side up and rubbing their belly, which puts them into a catatonic state making them easier to control.
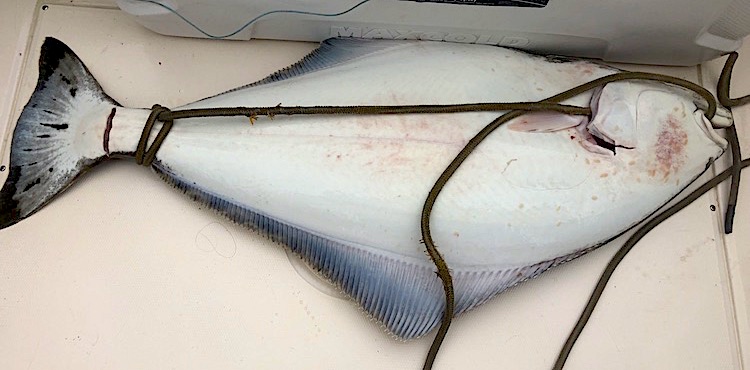
If you do bring a fish on deck that is still green (thrashing), another way to make them secure is to hog tie them by tying a rope around the tail and then through the gill and mouth area. Tighten up the rope so that the fish cannot move its tail. Don’t be fooled by a fish that appears to be laying calmly on deck or in your cooler—they can live for quite some time after you think they are subdued.
Filleting Your Catch
Fish transportation rules require that one fillet must have both the tail and pectoral collar attached for inspection and measurement. The correct filet to leave intact is the upper (brown side) belly fillet. Again, keep the tail attached to this fillet along with the collar just behind the gills to allow measurement if you are stopped by a fishery officer. When transporting your fish, it helps if you can keep all the fillets together so they can be re-assembled more easily upon the request of a fishery officer. I prefer vacuum packing my halibut to ensure the meat is kept in the best possible condition in the freezer.


